Green Tofu and Vegetable Curry
/This Green Tofu and Vegetable Curry is one of the easiest in our repertoire. A good green curry paste and coconut milk carry the flavor in the sauce, while a quick sauté on some green vegetables of choice and baked tofu bring this quick and tasty meal together in no time.
You can use just about any vegetable you choose in this dish, but I love keeping it all green. Goes with the green curry paste, and keeps it feeling fresh and spring-like, you know?
Tofu: to bake or to pan-fry?
You have the option of pan-frying or baking the tofu. Baking overall takes longer, but it’s less hands on, so may save you time in the end. It’s also a healthier alternative to pan-frying. Pan-frying, though, will always give you the edge on perfectly crispy, golden tofu. Baking can also get you crispy tofu, don’t get me wrong, but it’s just a little different. Baking is my preferred method!
If you choose to bake, there are actually two different ways you can go about this. Normally, after the water has been pressed out of the tofu, it would be lightly breaded in cornstarch and oil before being baked. This way is delicious and I highly recommend it.
Another way, as in the recipe below, is simply baking the tofu, no coating no fuss. This results in a crisp, almost chewy tofu that is another great option. I choose this method when crunched for time or cooking for people who prefer to eat lighter.
I paired the bake method with this particular curry recipe to keep it as simple and straightforward as possible. However, feel free to bake/fry tofu in your favorite way before tossing in the sauce with the veggies!
Recipe adapted from New York Times


Green Tofu and Vegetable Curry
Serves 2-3
Ingredients:
1 14oz / 400g block of firm or extra-firm tofu
1 Tbsp / 14g cooking oil
1 onion, sliced
1 bunch of asparagus, cut into 1-inch pieces
1 cup snow peas
1 14oz / 400g can of coconut milk
2-4 Tbsp / 36-72g green curry paste
Juice of 1 lime
Rice, lime wedges, cilantro, sesame seeds, etc. as desired, for serving
Directions:
Prepare the Tofu

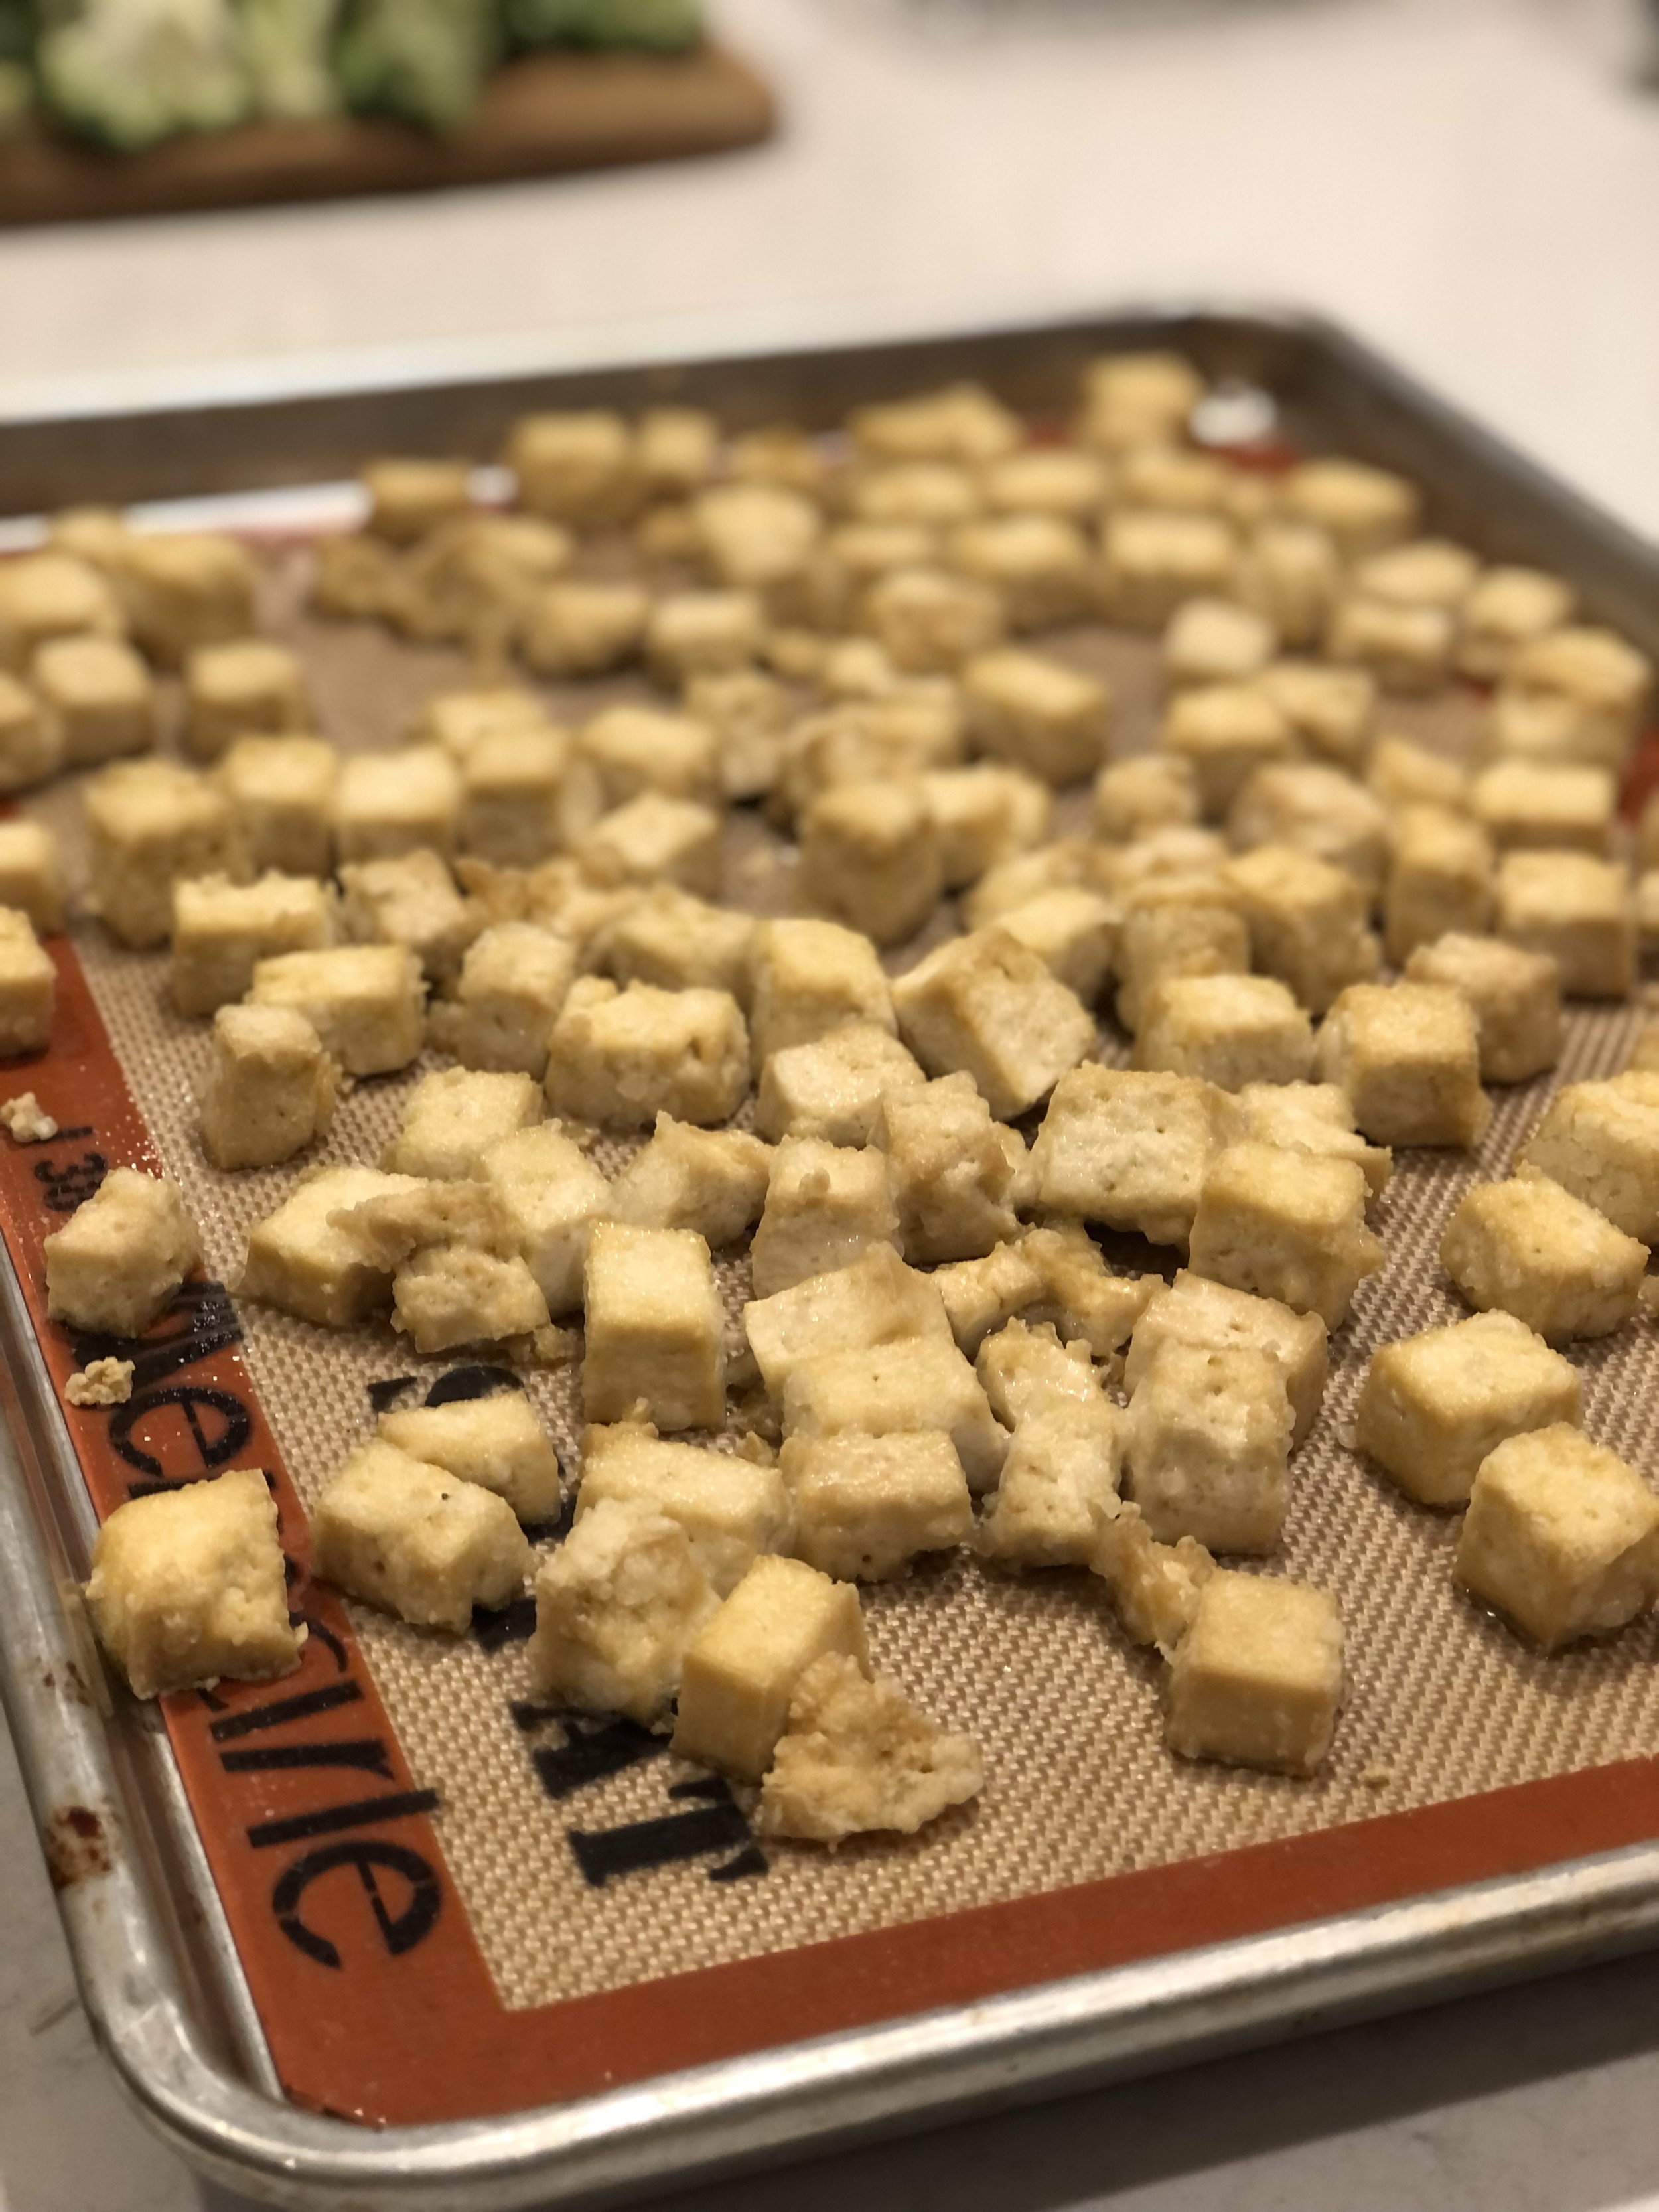
Oven preheated to 400°F / 205°C. Line a baking sheet with parchment paper or silpat.
Place tofu block between some paper towels and press to absorb extra water. Repeat until tofu feels dry and no more water comes out. You can also do this ahead of time by placing something heavy over the tofu and paper towels, such as a bowl or pot, and leave it for several minutes.
Slice tofu into 1-inch cubes. Disperse tofu cubes evenly onto prepared baking sheet.
Bake in preheated oven for about 30 minutes, or until light golden.

Cook Vegetables and Sauce
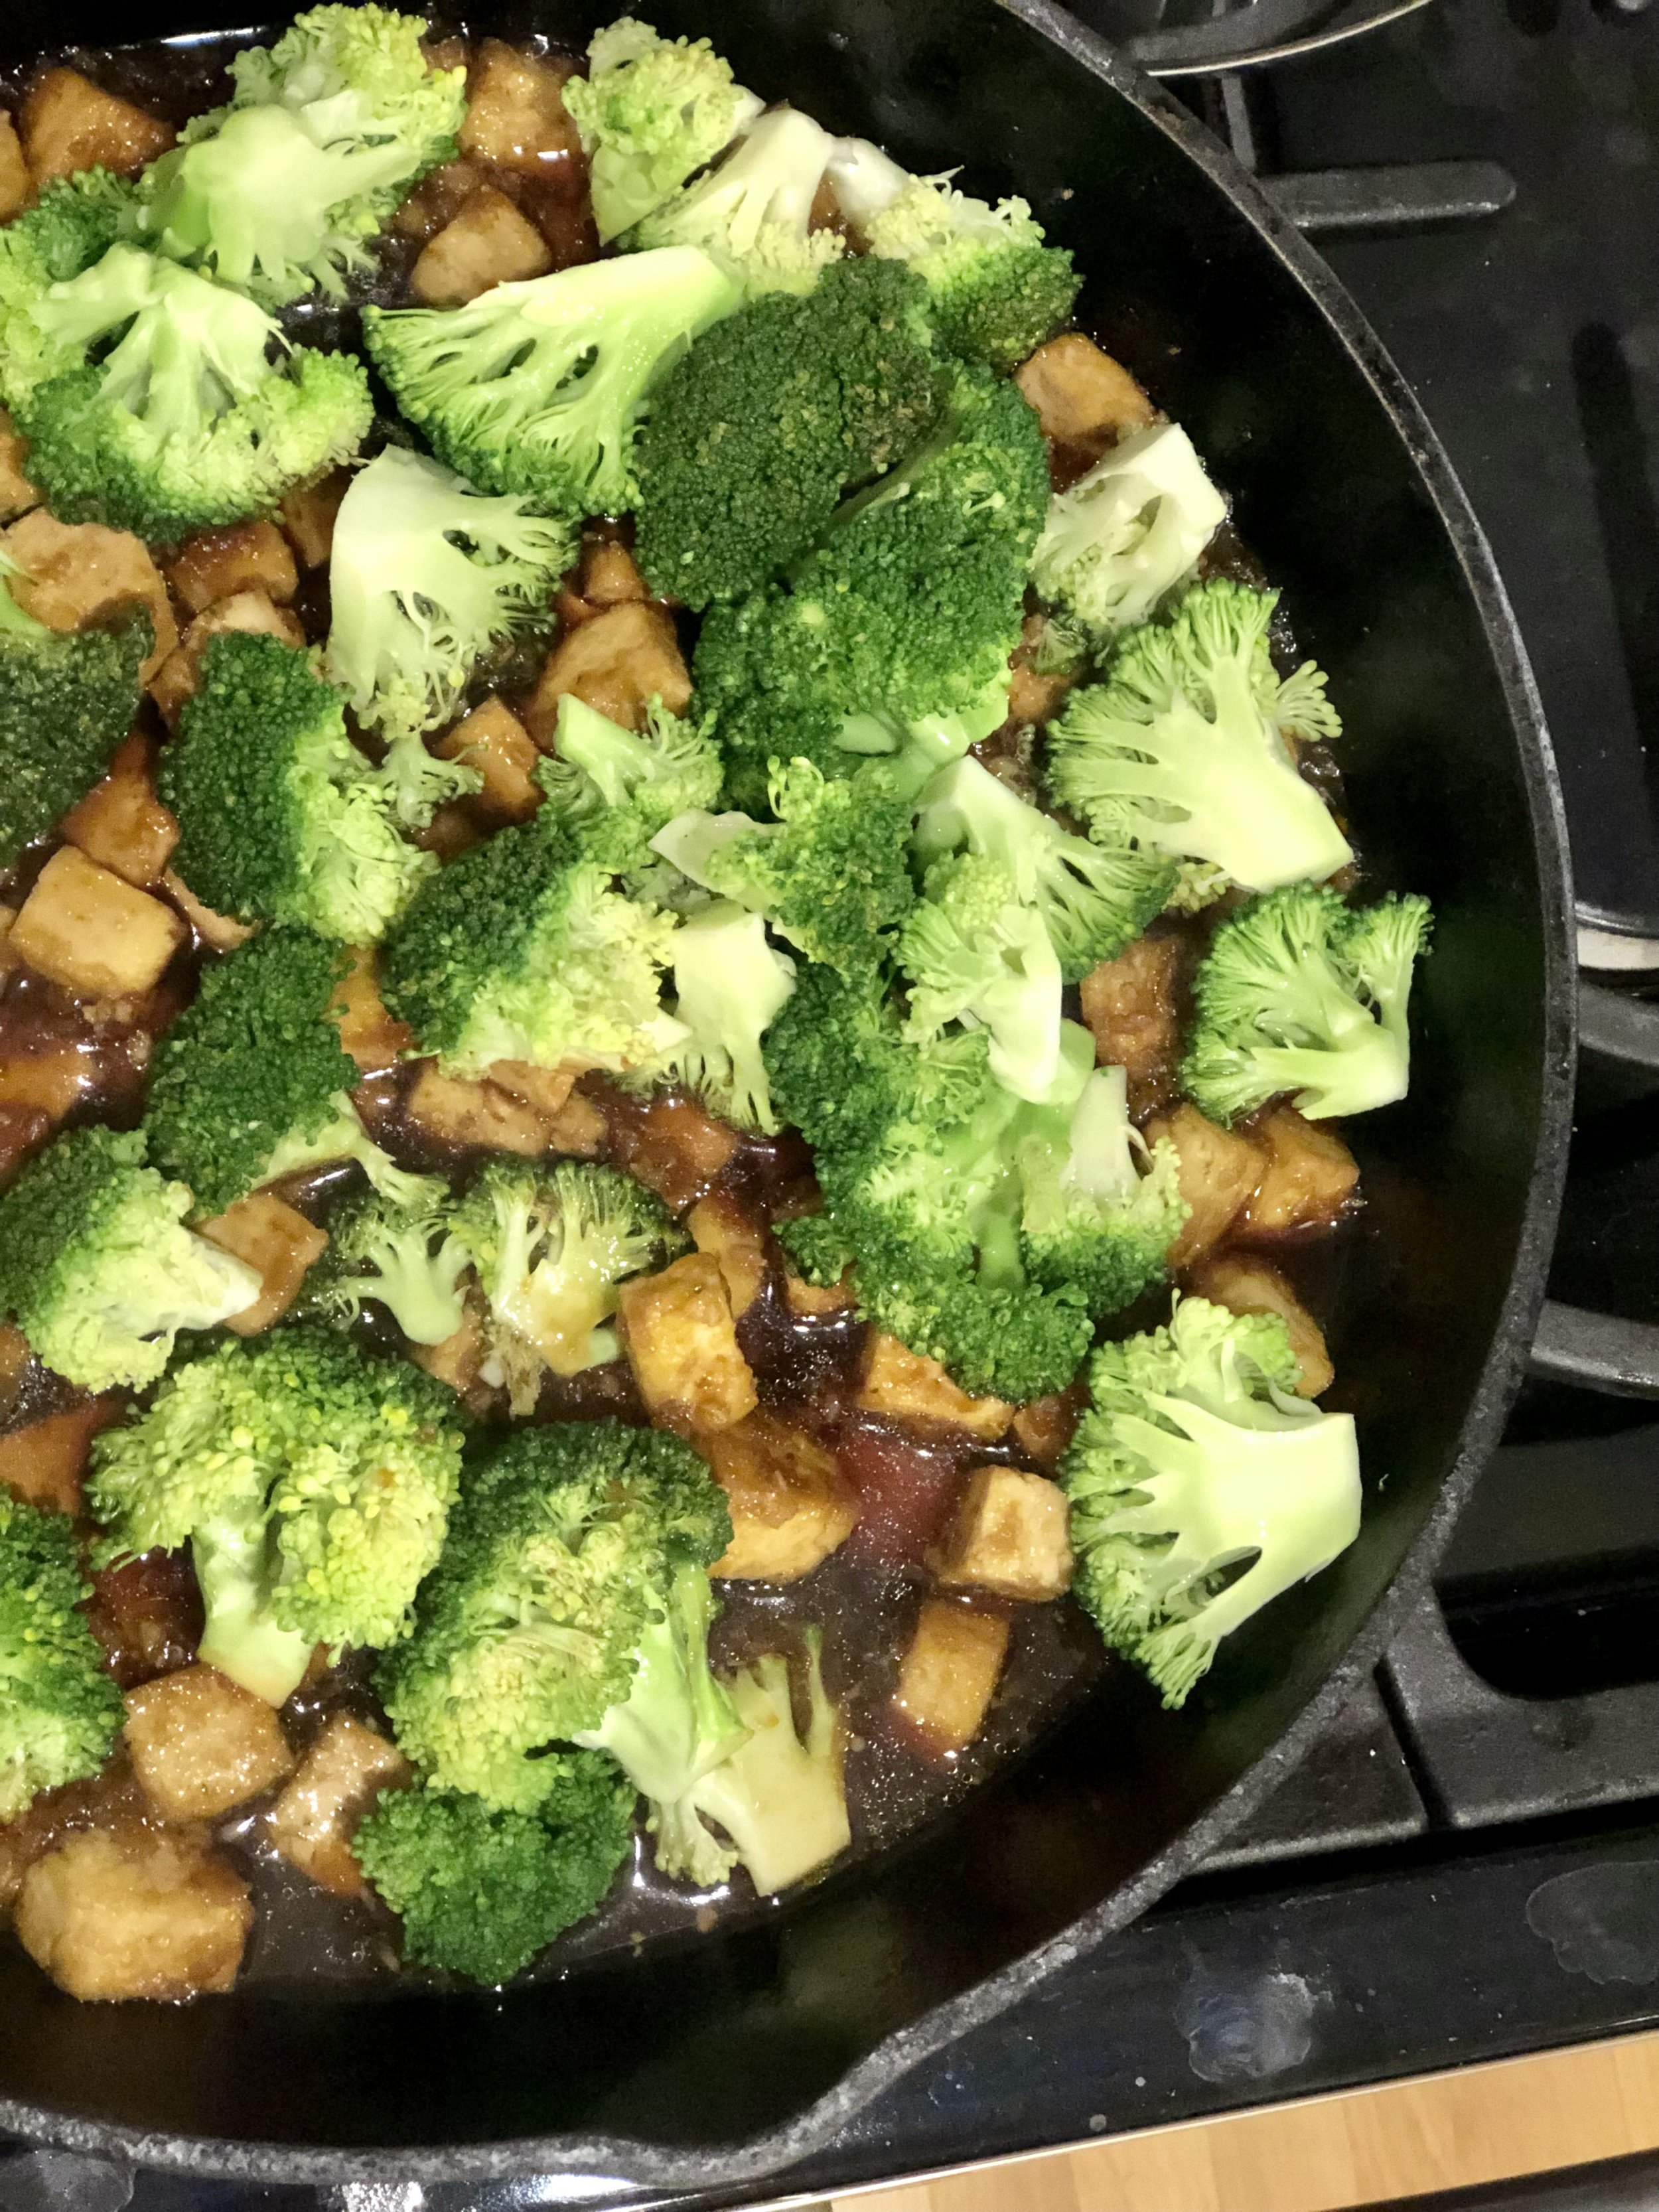
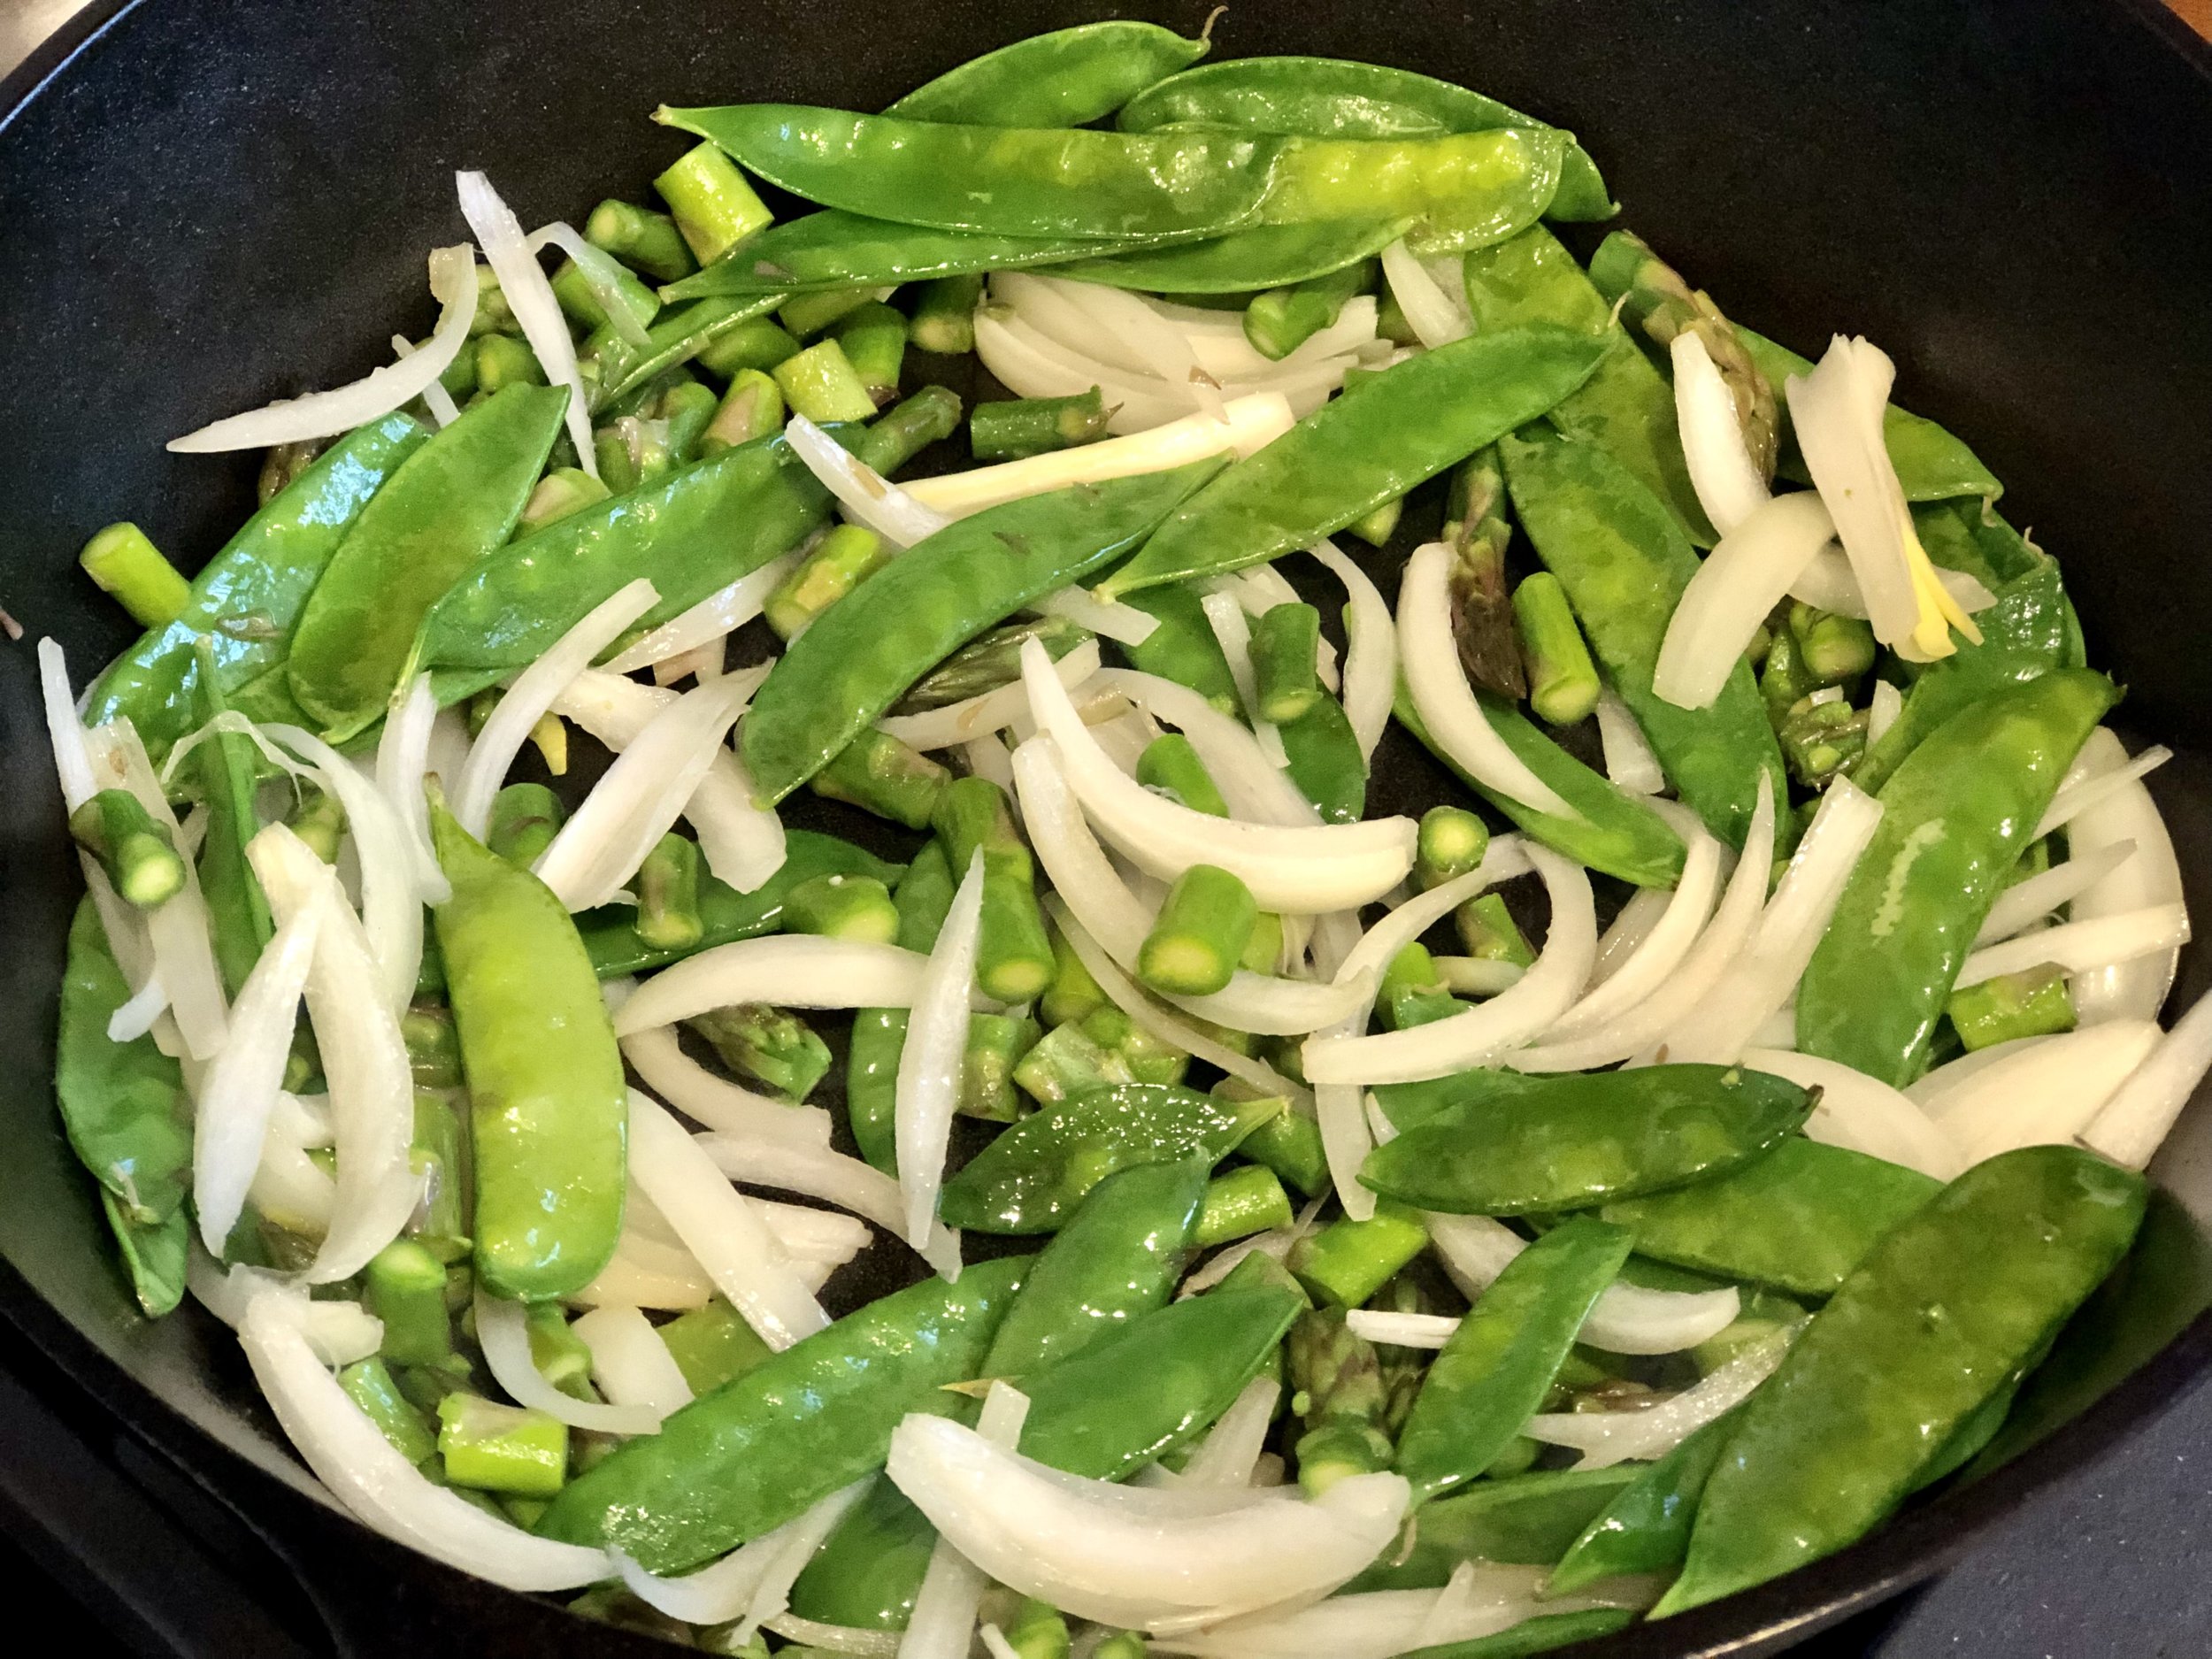
Heat oil in a large pan over medium-high heat. Add onions, asparagus, and snow peas; cook, stirring occasionally, until starting to get some color, about 2-3 minutes.
Add coconut milk and green curry paste to pan and stir to combine. Simmer until sauce starts to thicken.
Remove from heat and stir in lime juice and tofu.
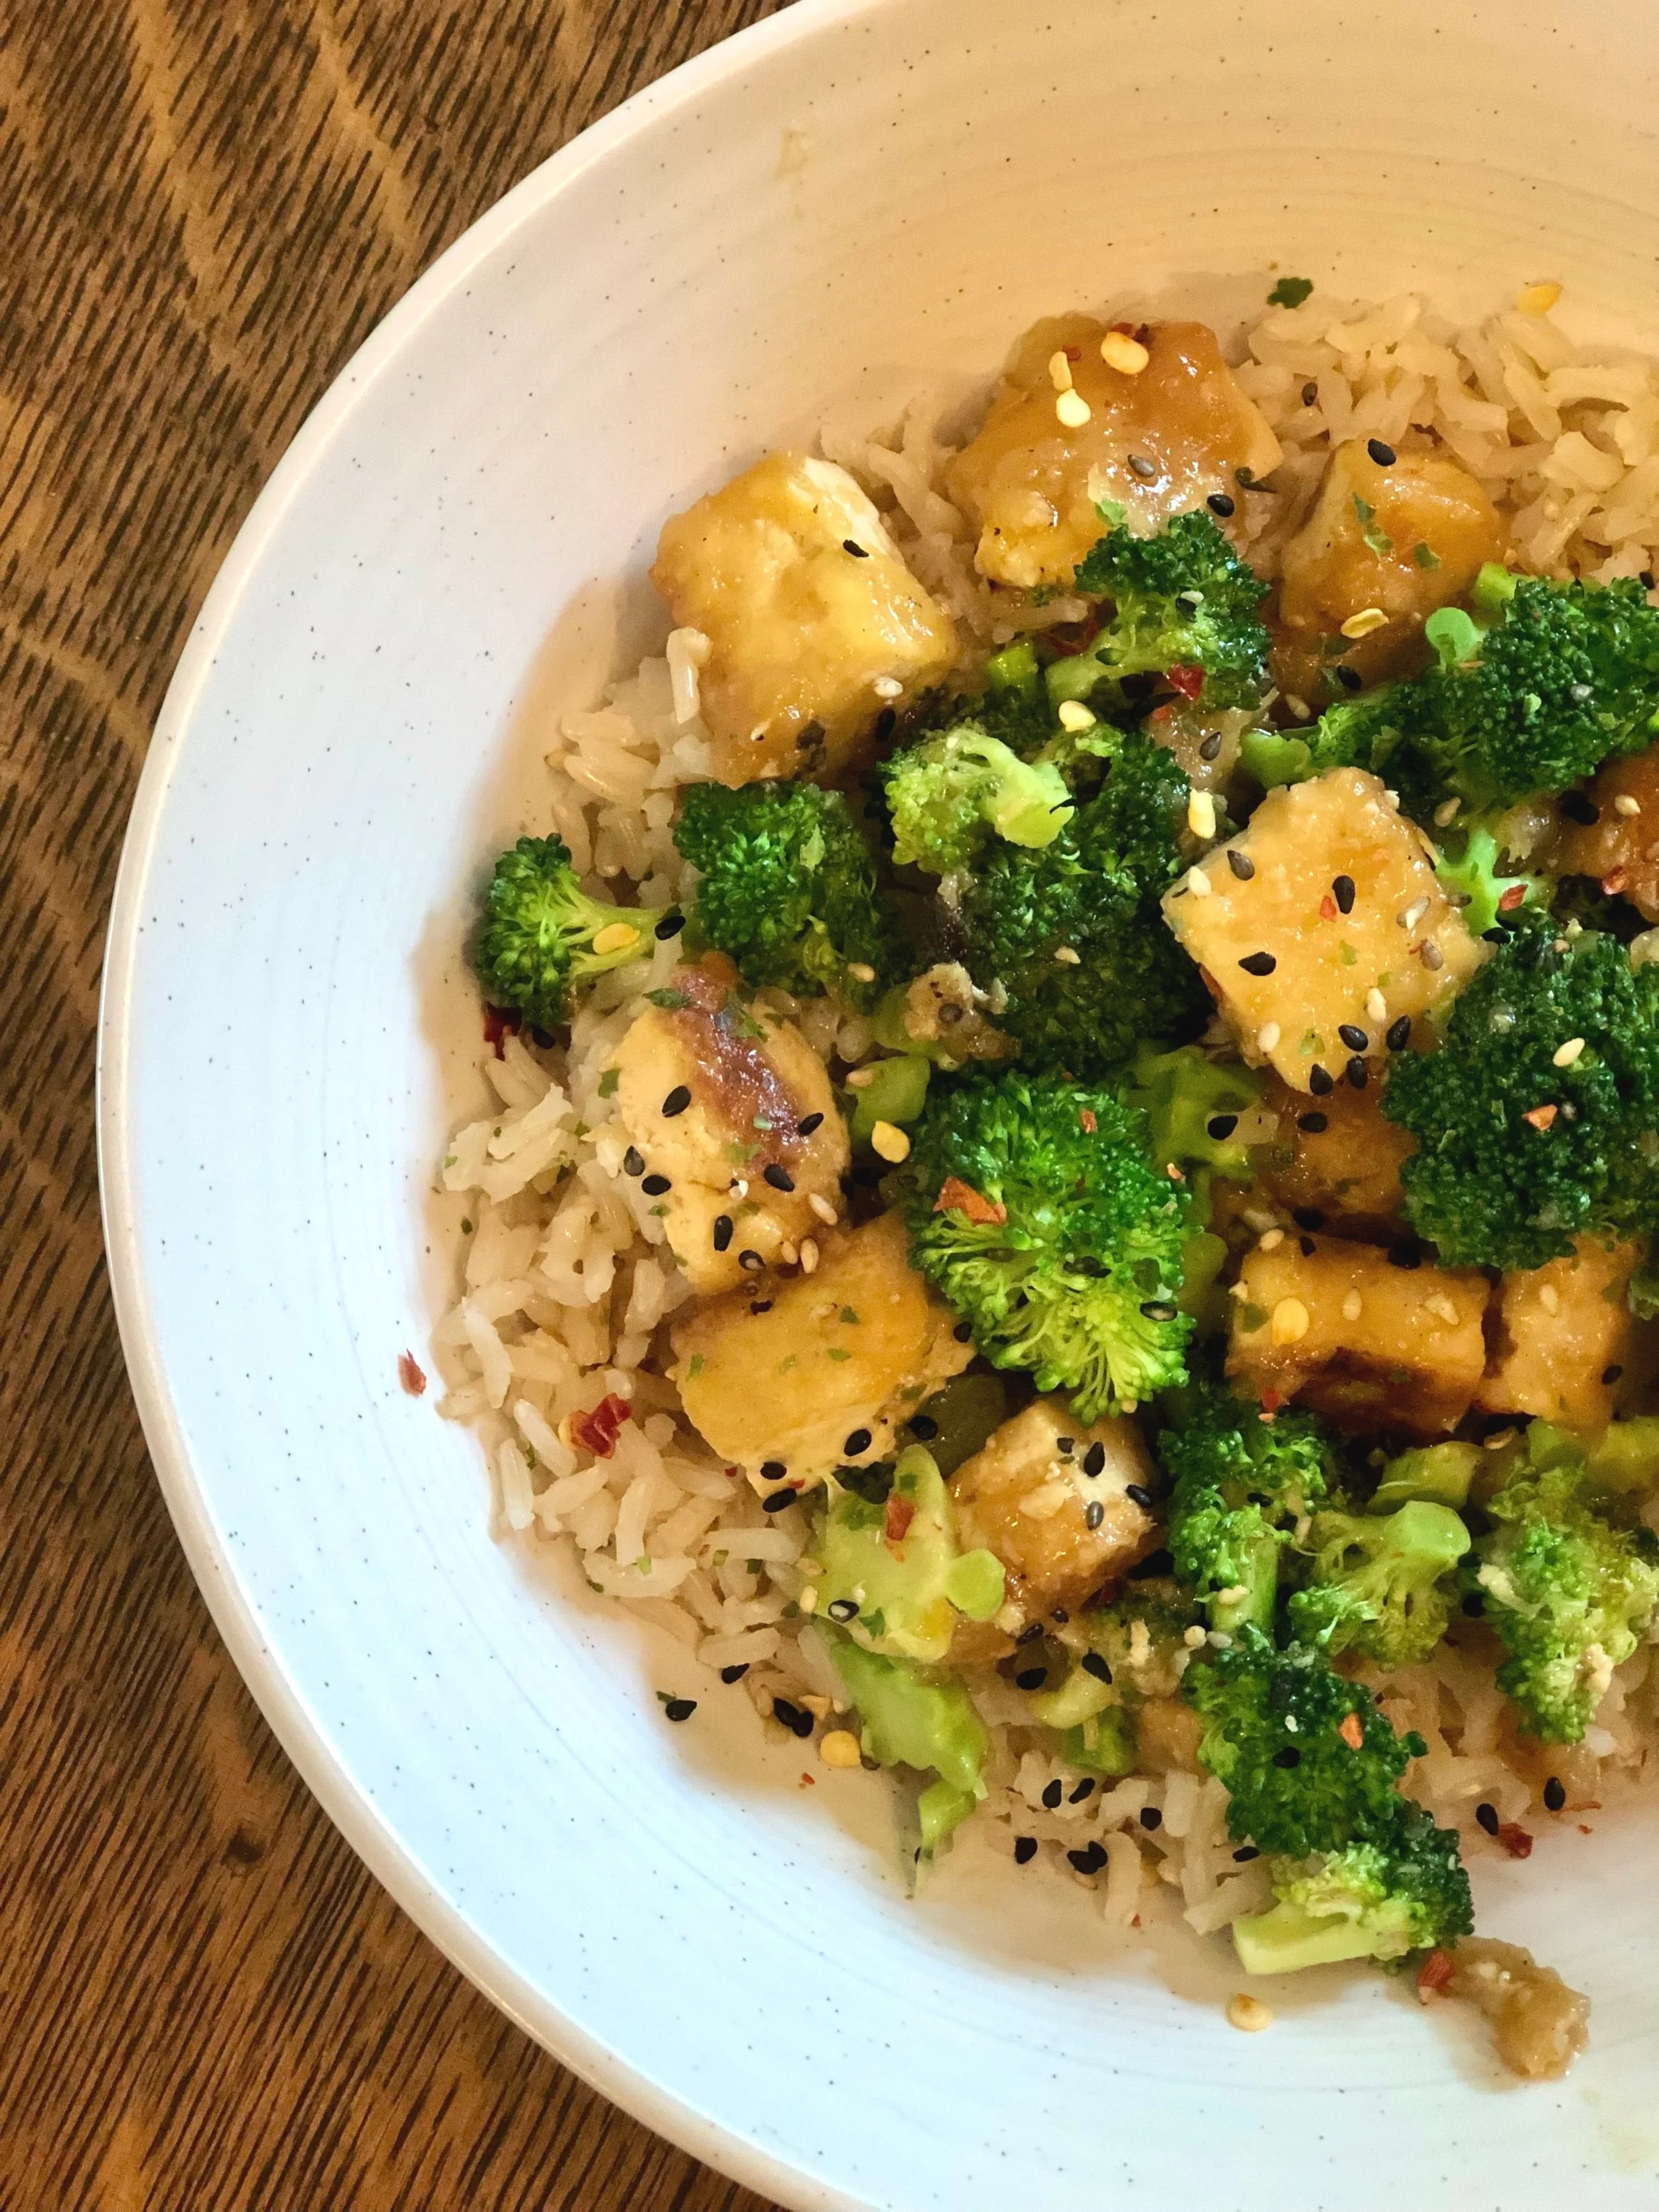
Serve over rice with desired garnishes.
Jenny’s Notes:
Use whichever vegetables you like best, the recipe as written above is the winning combo of veggies that we liked, while keeping it a fun green theme. Some ideas include using corn kernels, carrots, broccoli, kale, bell peppers, fennel, etc. Just keep in mind the approximate cooking length of the veggies you’re adding. Hardy root vegetables like carrots will take a bit longer, while veggies like broccoli, especially if you like them with a bit of a crunch like I do, will take just a few minutes until al dente perfection.
Certain veggies like broccoli and kale tend to “absorb” the sauce more than others, so if using these you might find your dish overall less saucy.
To avoid soggy vegetables, make sure not to cook them all the way through before you add the sauce, as they will still cook once you add the sauce.
Green curry pastes can vary in spiciness, so I would advise starting with just 2 Tbsp of curry and tasting for spice level before adding more.

Green Tofu and Vegetable Curry
Ingredients
Instructions
- Oven preheated to 400°F / 205°C. Line a baking sheet with parchment paper or silpat.
- Place tofu block between some paper towels and press to absorb extra water. Repeat until tofu feels dry and no more water comes out. You can also do this ahead of time by placing something heavy over the tofu and paper towels, such as a bowl or pot, and leave it for several minutes.
- Slice tofu into 1-inch cubes. Disperse tofu cubes evenly onto prepared baking sheet.
- Bake in preheated oven for about 30 minutes, or until light golden.
- Heat oil in a large pan over medium-high heat. Add onions, asparagus, and snow peas; cook, stirring occasionally, until starting to get some color, about 2-3 minutes.
- Add coconut milk and green curry paste to pan and stir to combine. Simmer until sauce starts to thicken.
- Remove from heat and stir in lime juice and tofu.
- Serve over rice with desired garnishes.
Notes
- Use whichever vegetables you like best, the recipe as written above is the winning combo of veggies that we liked, while keeping it a fun green theme. Some ideas include using corn kernels, carrots, broccoli, kale, bell peppers, fennel, etc. Just keep in mind the approximate cooking length of the veggies you’re adding. Hardy root vegetables like carrots will take a bit longer, while veggies like broccoli, especially if you like them with a bit of a crunch like I do, will take just a few minutes until al dente perfection.
- Certain veggies like broccoli and kale tend to “absorb” the sauce more than others, so if using these you might find your dish overall less saucy.
- To avoid soggy vegetables, make sure not to cook them all the way through before you add the sauce, as they will still cook once you add the sauce.
- Green curry pastes can vary in spiciness, so I would advise starting with just 2 Tbsp of curry and tasting for spice level before adding more.
Nutrition Facts
Calories
736.72Fat
60.15 gSat. Fat
39.85 gCarbs
30.97 gFiber
9.42 gNet carbs
21.55 gSugar
10.97 gProtein
29.01 gSodium
43.1 mgCholesterol
0 mgNutritional information is approximate, based on 2 servings, not including rice or garnishes.